注意
前往末尾下載完整的範例程式碼。
十字游標#
此範例新增十字游標作為資料游標。十字游標實作為在滑鼠移動時更新的規則線條物件。
我們展示三種實作方式
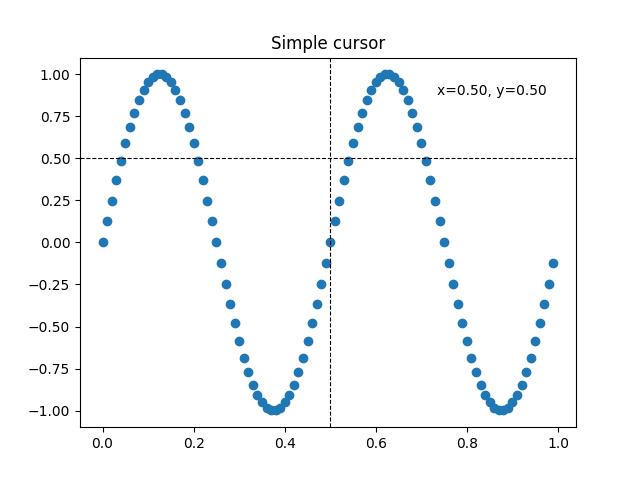
在每次滑鼠移動時重新繪製圖形的簡單游標實作。這有點慢,您可能會注意到十字游標移動有些延遲。
使用位圖加速渲染的游標。
貼齊至資料點的游標。
如 在 WX 中新增游標所示,使用原生 GUI 繪圖可以實現更快的游標移動。
可以使用 mpldatacursor 和 mplcursors 第三方套件來達到類似的效果。
import matplotlib.pyplot as plt
import numpy as np

from matplotlib.backend_bases import MouseEvent


class Cursor:
    """
    A cross hair cursor.
    """
    def __init__(self, ax):
        self.ax = ax
        self.horizontal_line = ax.axhline(color='k', lw=0.8, ls='--')
        self.vertical_line = ax.axvline(color='k', lw=0.8, ls='--')
        # text location in axes coordinates
        self.text = ax.text(0.72, 0.9, '', transform=ax.transAxes)

    def set_cross_hair_visible(self, visible):
        need_redraw = self.horizontal_line.get_visible() != visible
        self.horizontal_line.set_visible(visible)
        self.vertical_line.set_visible(visible)
        self.text.set_visible(visible)
        return need_redraw

    def on_mouse_move(self, event):
        if not event.inaxes:
            need_redraw = self.set_cross_hair_visible(False)
            if need_redraw:
                self.ax.figure.canvas.draw()
        else:
            self.set_cross_hair_visible(True)
            x, y = event.xdata, event.ydata
            # update the line positions
            self.horizontal_line.set_ydata([y])
            self.vertical_line.set_xdata([x])
            self.text.set_text(f'x={x:1.2f}, y={y:1.2f}')
            self.ax.figure.canvas.draw()


x = np.arange(0, 1, 0.01)
y = np.sin(2 * 2 * np.pi * x)

fig, ax = plt.subplots()
ax.set_title('Simple cursor')
ax.plot(x, y, 'o')
cursor = Cursor(ax)
fig.canvas.mpl_connect('motion_notify_event', cursor.on_mouse_move)

# Simulate a mouse move to (0.5, 0.5), needed for online docs
t = ax.transData
MouseEvent(
    "motion_notify_event", ax.figure.canvas, *t.transform((0.5, 0.5))
)._process()
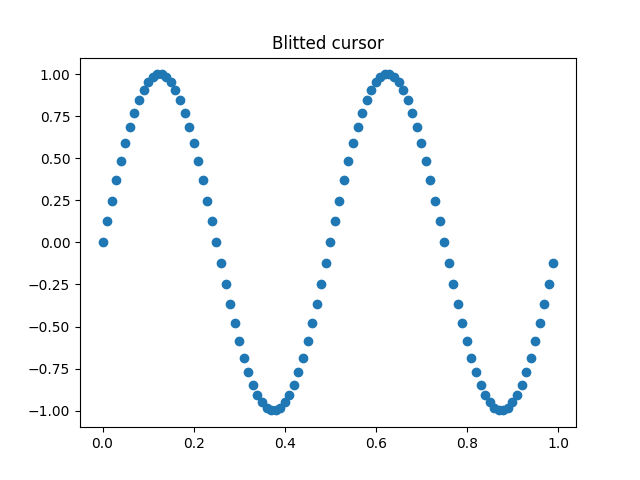
使用位圖更快地重新繪製#
此技術將渲染的圖形儲存為背景圖像。只有變更的藝術家(十字游標線條和文字)會重新渲染。它們會使用位圖與背景結合。
此技術明顯更快。它需要多一點設定,因為背景必須在沒有十字游標線條的情況下儲存(請參閱 create_new_background())。此外,每當圖形變更時,都必須建立新的背景。這是透過連線至 'draw_event' 來實現的。
class BlittedCursor:
    """
    A cross-hair cursor using blitting for faster redraw.
    """
    def __init__(self, ax):
        self.ax = ax
        self.background = None
        self.horizontal_line = ax.axhline(color='k', lw=0.8, ls='--')
        self.vertical_line = ax.axvline(color='k', lw=0.8, ls='--')
        # text location in axes coordinates
        self.text = ax.text(0.72, 0.9, '', transform=ax.transAxes)
        self._creating_background = False
        ax.figure.canvas.mpl_connect('draw_event', self.on_draw)

    def on_draw(self, event):
        self.create_new_background()

    def set_cross_hair_visible(self, visible):
        need_redraw = self.horizontal_line.get_visible() != visible
        self.horizontal_line.set_visible(visible)
        self.vertical_line.set_visible(visible)
        self.text.set_visible(visible)
        return need_redraw

    def create_new_background(self):
        if self._creating_background:
            # discard calls triggered from within this function
            return
        self._creating_background = True
        self.set_cross_hair_visible(False)
        self.ax.figure.canvas.draw()
        self.background = self.ax.figure.canvas.copy_from_bbox(self.ax.bbox)
        self.set_cross_hair_visible(True)
        self._creating_background = False

    def on_mouse_move(self, event):
        if self.background is None:
            self.create_new_background()
        if not event.inaxes:
            need_redraw = self.set_cross_hair_visible(False)
            if need_redraw:
                self.ax.figure.canvas.restore_region(self.background)
                self.ax.figure.canvas.blit(self.ax.bbox)
        else:
            self.set_cross_hair_visible(True)
            # update the line positions
            x, y = event.xdata, event.ydata
            self.horizontal_line.set_ydata([y])
            self.vertical_line.set_xdata([x])
            self.text.set_text(f'x={x:1.2f}, y={y:1.2f}')

            self.ax.figure.canvas.restore_region(self.background)
            self.ax.draw_artist(self.horizontal_line)
            self.ax.draw_artist(self.vertical_line)
            self.ax.draw_artist(self.text)
            self.ax.figure.canvas.blit(self.ax.bbox)


x = np.arange(0, 1, 0.01)
y = np.sin(2 * 2 * np.pi * x)

fig, ax = plt.subplots()
ax.set_title('Blitted cursor')
ax.plot(x, y, 'o')
blitted_cursor = BlittedCursor(ax)
fig.canvas.mpl_connect('motion_notify_event', blitted_cursor.on_mouse_move)

# Simulate a mouse move to (0.5, 0.5), needed for online docs
t = ax.transData
MouseEvent(
    "motion_notify_event", ax.figure.canvas, *t.transform((0.5, 0.5))
)._process()
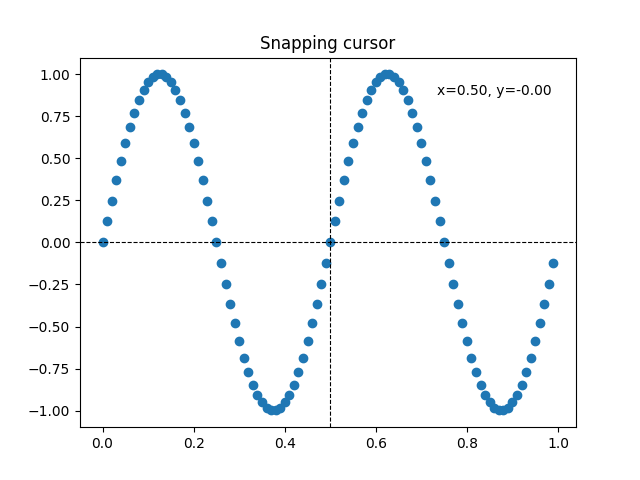
貼齊至資料點#
以下游標會將其位置貼齊至 Line2D 物件的資料點。
為了節省不必要的重新繪製,最後指示的資料點的索引會儲存在 self._last_index 中。只有在滑鼠移動足夠遠以至於必須選取另一個資料點時,才會觸發重新繪製。這減少了因多次重新繪製而造成的延遲。當然,仍然可以在頂部新增位圖以進一步加速。
class SnappingCursor:
    """
    A cross-hair cursor that snaps to the data point of a line, which is
    closest to the *x* position of the cursor.

    For simplicity, this assumes that *x* values of the data are sorted.
    """
    def __init__(self, ax, line):
        self.ax = ax
        self.horizontal_line = ax.axhline(color='k', lw=0.8, ls='--')
        self.vertical_line = ax.axvline(color='k', lw=0.8, ls='--')
        self.x, self.y = line.get_data()
        self._last_index = None
        # text location in axes coords
        self.text = ax.text(0.72, 0.9, '', transform=ax.transAxes)

    def set_cross_hair_visible(self, visible):
        need_redraw = self.horizontal_line.get_visible() != visible
        self.horizontal_line.set_visible(visible)
        self.vertical_line.set_visible(visible)
        self.text.set_visible(visible)
        return need_redraw

    def on_mouse_move(self, event):
        if not event.inaxes:
            self._last_index = None
            need_redraw = self.set_cross_hair_visible(False)
            if need_redraw:
                self.ax.figure.canvas.draw()
        else:
            self.set_cross_hair_visible(True)
            x, y = event.xdata, event.ydata
            index = min(np.searchsorted(self.x, x), len(self.x) - 1)
            if index == self._last_index:
                return  # still on the same data point. Nothing to do.
            self._last_index = index
            x = self.x[index]
            y = self.y[index]
            # update the line positions
            self.horizontal_line.set_ydata([y])
            self.vertical_line.set_xdata([x])
            self.text.set_text(f'x={x:1.2f}, y={y:1.2f}')
            self.ax.figure.canvas.draw()


x = np.arange(0, 1, 0.01)
y = np.sin(2 * 2 * np.pi * x)

fig, ax = plt.subplots()
ax.set_title('Snapping cursor')
line, = ax.plot(x, y, 'o')
snap_cursor = SnappingCursor(ax, line)
fig.canvas.mpl_connect('motion_notify_event', snap_cursor.on_mouse_move)

# Simulate a mouse move to (0.5, 0.5), needed for online docs
t = ax.transData
MouseEvent(
    "motion_notify_event", ax.figure.canvas, *t.transform((0.5, 0.5))
)._process()

plt.show()
腳本的總執行時間: (0 分鐘 1.748 秒)